About my Blog

Like Food? Then you are in the right place. I love food. I love to see it, smell it, and taste it. I like to try to make it too. This my kitchen and my cooking. It's not always perfect, but it's made with love. Take a peek and try some out. Welcome to The Tiny Kitchen That Could

Sunday, October 30, 2011

Chocolate Pumpkin Cookies

I have never made anything with pumpkin except pumpkin pie, and I thought that this year, that needs to be fixed. Why should I use pumpkin for only one thing?

Bakerella showed me this recipe and when my Dad came into town to visit my son (and me too, I think!) I whipped them up.

My sister was also hanging out, so she commandeered the camera and I had no control over what was snapped, please forgive any pictures of me, thank you!


A prime example of my sister taking over.

These were supposed to be pictures of my ingredients:


Granted, my sister Victoria is beautiful,
but I don't see how this can help you.

So lets move on and see if I can find anything that is of use. The recipe is at the bottom of the blog.


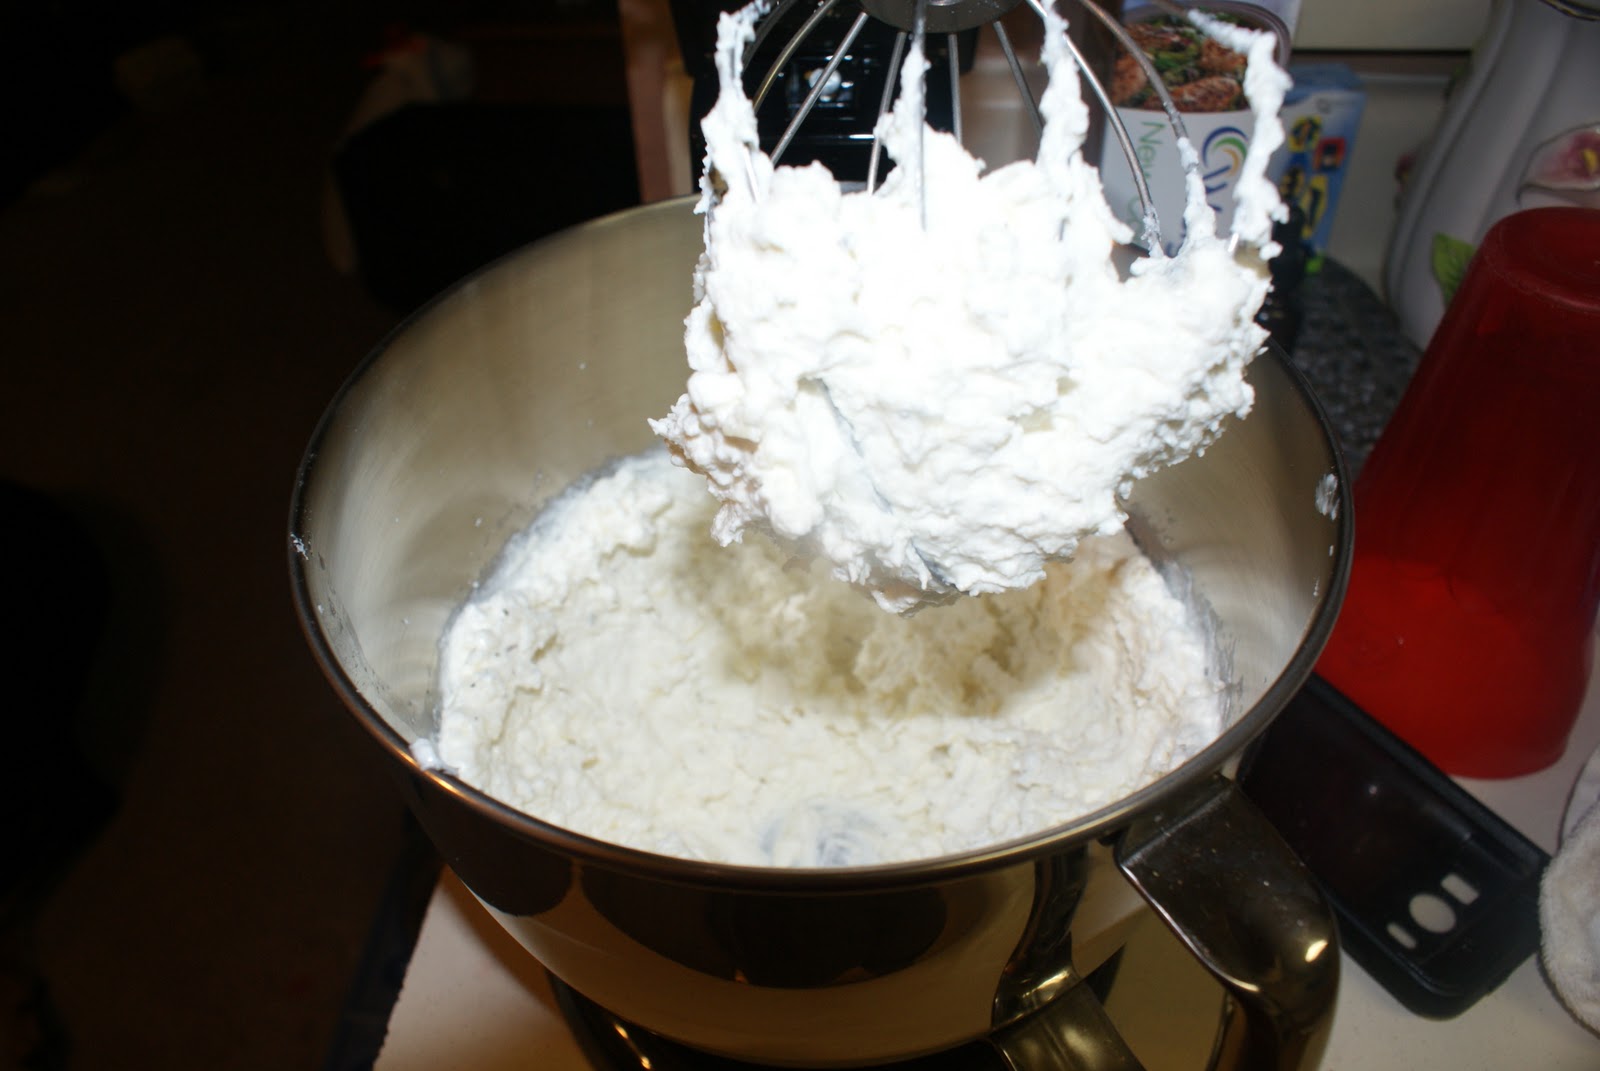
First you cream the butter then add the sugars and mix until creamy.


Then add the eggs one at a time, mixing well each time.
Add the vanilla too.


You are going to add the flour and pumpkin pie spice and pumpkin last, alternating each item until done.


Then the chocolate chunks (or chips).


I use a scooper to have even cookie sizes. This was my first batch and I lined my sheet with wax paper but it didn't work well, so I just sprayed the cookie sheet with a little bakers joy and that worked wonderfully!


For the Maple Butter Frosting (totally optional):

Melt the butter til brown-ish, but don't burn it!


Mix all the ingredients.


The recipe says maple flavoring, but I just used pure maple syrup.


Enjoy!

I also tried this recipe as muffins and it worked well too!
The Mini muffins I cooked as long as the cookies, but the big muffins were about twice as long.


Pumpkin Chocolate Chunk Cookies
2 1/4 cup self-rising flour
3 tsp pumpkin pie spice
3/4 cup butter, room temperature
1 1/4 cup light brown sugar
1 cup sugar
2 tsp vanilla
2 eggs
1 cup canned pumpkin
1 1/2 cups semi-sweet chocolate chunks
  • Whisk together flour and pumpkin pie spice. Set aside.
  • In a large mixing bowl, cream butter.
  • Add both sugars and beat until light and fluffy.
  • Add vanilla.
  • Add eggs one at a time and beat until combined.
  • Add flour/spice mixture to sugar mixture in three additions. Alternate with pumpkin in two additions, ending with flour mixture.
  • Stir in chocolate chunks.
  • Drop on cookie tray lined with parchment paper.
  • Bake at 350 degrees for 10-12 minutes. Makes about four dozen cookies.
  • Let cool.


Maple Brown Butter Frosting
3 cups sifted confectioners sugar
1/2 cup butter
1/4 cup milk
2 tsp maple flavoring
  • Sift sugar and set aside.
  • Melt butter over medium heat until golden brown. Watch closely so it does not burn.
  • Add butter to sugar, scraping all the butter into the bowl.
  • Add milk and maple flavoring. Stir until smooth.
  • Spread on top of cookies with an knife or offset spatula.

Wednesday, October 12, 2011

Mini Maple Chocolate Chip Pancake Muffins

(Original Post June 25, 2011)


Ever get a taste for pancakes, but don’t feel like flipping?
I do. Especially since I always seem to be the one still flipping while everyone else gets to eat the first ones off the pan. If I had a bigger griddle, it would probably be ok. But I have a little one and usually end up frying one pancake at a time to make sure they look decent… which takes for ever.


But not this way. Try these laborless baked pancake muffins. Hmmmmmm… Puffins anyone?


Mini Maple Chocolate Chip Pancake Muffins

They are just what they seem, a maple pancake in muffin form.
A FROM SCRATCH maple pancake muffin.

Yum.

The Cast of Characters:
Mix your dry ingredients, set aside.
Then mix up the wet ingredients.
A little bit at a time, stir in the dry mix, and add some mini chocolate chips.
You don't HAVE to add the chocolate, but I highly recommend it.
Chocolate makes everything better.

Now you can spoon the mix on you greased pan, but (this is the only thing I don't like about the mini stuff) it will be messy.
I decided to put my mix in a disposable pastry bag and pipe them into the pan, way faster and cleaner.

Fill them three fourths the way up, but don't worry if you fill them a little higher.
I had to go over quite a few to use all my mix, but still get only 24 (I probably could have made about 30 smaller ones).
And when they come out they are ready to eat.
Plain.
With syrup.
With fruit.
With anything.


Super yummy and very quick to make!


Mini Maple Chocolate Chip Pancake Muffins. (By Bakerella)
(Someone please come up with a shorter name for these.)
1 cup flour
1 teaspoon baking powder
1/2 teaspoon baking soda
1/4 teaspoon salt
2 tablespoons sugar
2/3 cup buttermilk
1 egg
2 tablespoons pure maple syrup
2 tablespoons melted butter
1/2 cup milk chocolate chips
  • Preheat oven to 350 degrees.
  • Combine flour, baking powder, baking soda, salt and sugar in a medium bowl. Sift together with a wire whisk.
  • In another bowl, stir buttermilk, egg, maple syrup and melted butter until just combined.
  • Add wet ingredients to dry ingredients and stir with a spoon until combined.
  • Stir in chocolate chips. Reserve a few chips to sprinkle on the tops.
  • Bake for 8-9 minutes.
Makes 24 mini pancake muffins.
Let cool slightly and remove from the pan. You may need to use a toothpick around the edges to separate the pancake muffins from the pan.
Serve immediately with warmed butter if you like or even just with maple syrup.

Saturday, October 8, 2011

Lasagna

You know what I love the most about lasagna?
That it tastes even better as leftovers than when its fresh.
There is just something about putting it in the fridge, letting get cold, the microwaving it that is just....Mmmmm.

So I usually make it when I know I am not going to feel like cooking the next day.
Or when I am not going to go to the store for stuff to make.

I don't know about you, but we save all our leftovers, but somehow never get around to eating them.
It's a problem, I know.
We work on it.

Lasagna is our exception, we eat it all, and the leftovers don't last more than a day or two.


I used to make it like this:

1. Go to store.
2. Get frozen Stouffers Lasagna.
3. Go home.
4. Put frozen lasagna in oven.
5. Wait FOREVER, then serve.


But now I make it myself, and not only does it taste better,
it does NOT take 160 minutes to cook.

I am impatient when it comes to food, and usually I start dinner later in the evening, when I am ready to eat, so making a meal that takes more than an hour doesn't fit into my schedule.


This is how I do it now.


1. Brown your meat (I use two pounds, but the picture only shows 1), add what ever kinds of seasoning you like.

2. While that is working, get your cheese mix ready.
I use a mix of Ricotta and Cottage cheese with a hand full of Parmesan and an egg.
No exact measurements will be offered.


3. The meat should be done now, so time to add your tomato sauce, I use meat sauce because my husband loves it extra meaty. Then get your Ready to Bake lasagna pasta and start layering!

This is how I layer:
1st layer:
Pasta
Cheese mix
Meat mix
Spinach leaves (to taste, optional, I just need a little green)
Fresh mozzarella
Balsamic vinegar
2nd layer:
Pasta
Cheese mix
Meat mix
Cheese mix (very little)
Fresh mozzarella
Balsamic Vinegar
Parmesan

Seems like a lot, but its not.

See?
Here is the 1st layer


Making layer number two:


4. Throw it in the oven at 400 degrees for about half an hour (if you want you can cook it longer at 350 or whatever you like, but why???).

Just eyeball it really, I took it out when the mozzarella was getting crispy on the top.


That really brown part you see? That's just balsamic that soaked into the cheese, don't worry.

You should technically let it sit for, like 15 min to, I guess, firm up, but, like I said, I can't wait that long so I serve it after 5.

The whole process takes about an hour! Totally worth it!

There will be liquid in the dish, don't worry, you didn't do something wrong, it still tastes awesome, and the next day, when you eat the leftovers, your going to be amazed that it tastes even better!


Saturday, October 1, 2011

Reese's Cake (Got Milk?)

This summary is not available. Please click here to view the post.